Low-Profile Wooden Spice Rack
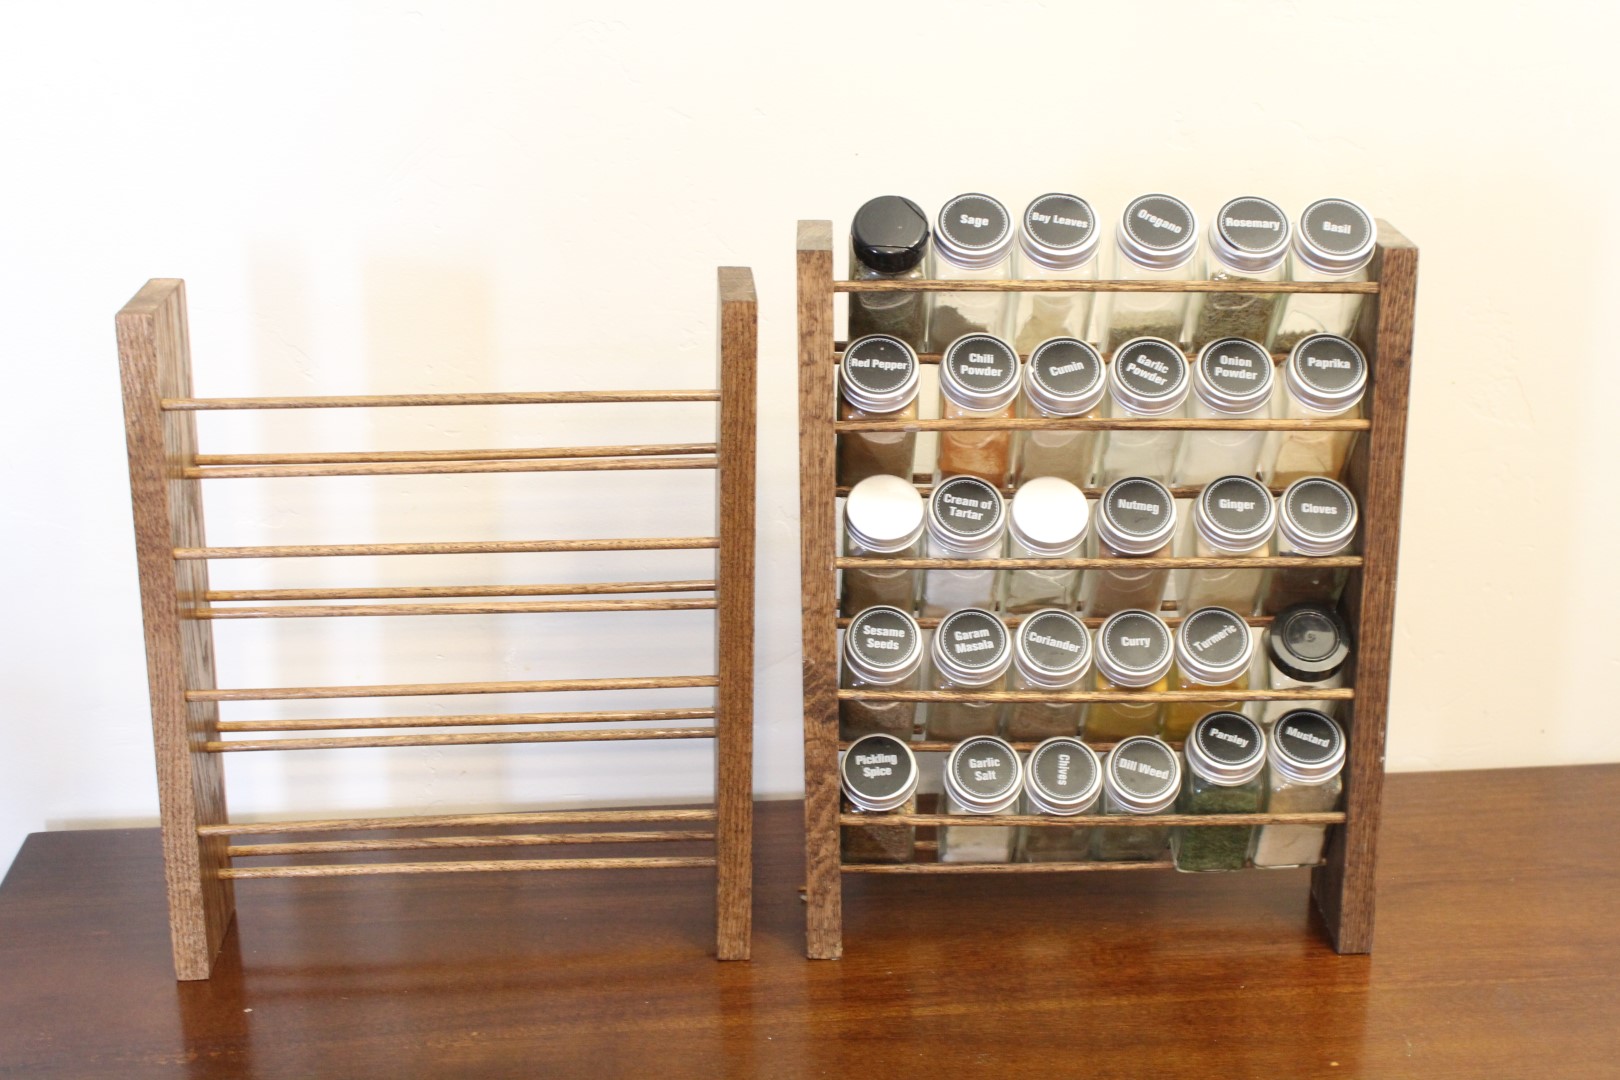
This wooden spice rack is the perfect low-profile way to keep all your favorite spices on your countertop. It’s big enough to hold all your favorite spices while taking up very little space. It keeps your spice jars easily visible and accessible.
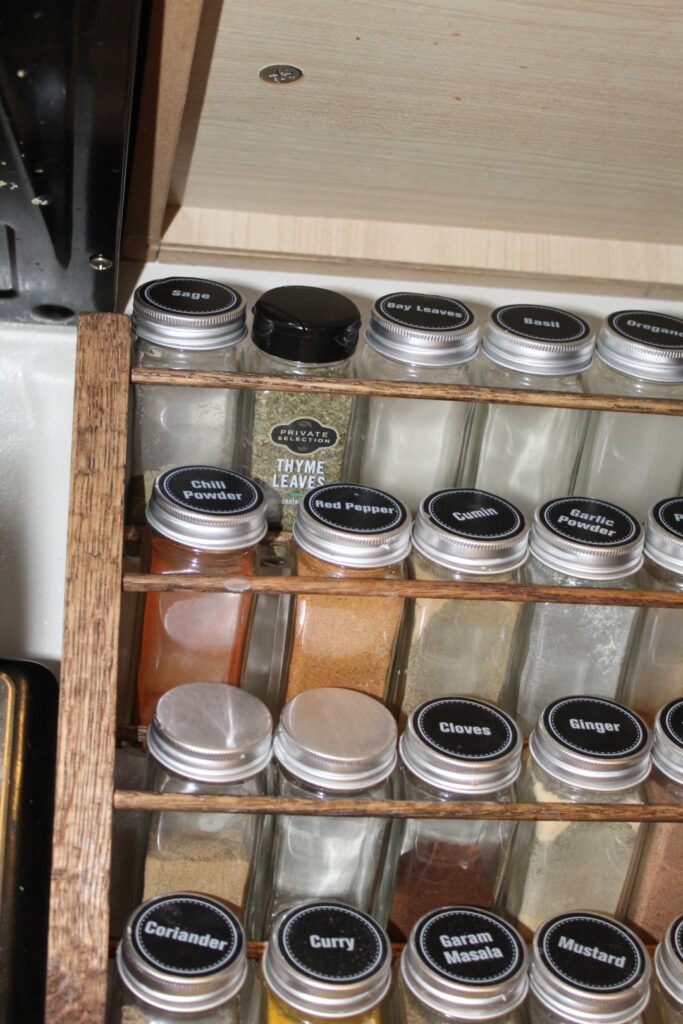
Jump to InstructionsWhen we moved into our home 3 years ago I discovered that I needed a spice rack to organize my spices without taking up too much counter space. I had a design in mind and decided to make my own. We already had several matching spice jars with most of the spices we used so I used a them to draw out my design for this simple yet sleek spice rack that slides seamlessly beneath our cabinets and holds all 30 of our spices.
Now a couple years later my sister is getting married and I decided to make her a spice rack of her own as a wedding gift. She said she didn’t need quite as many spice jars so I decided make her a rack that held 24. Both racks take up the same amount of counter space but I love that this rack can be customized to hold the amount of spices that you need.
I made a few minor adjustments when making my sister’s to perfect the rack, but both look and work great to hold our spices in a simple yet stylish DIY fashion.
What Type of Wood to Use for the Spice Rack
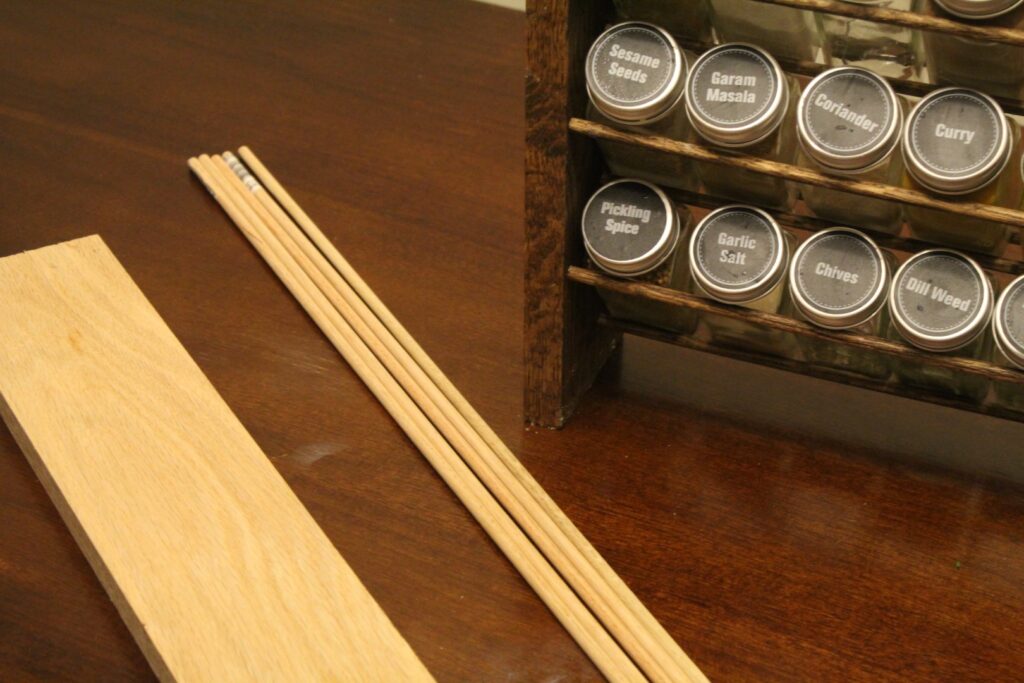
Before buying supplies we did a little research on what type of wood would work best for our spice rack. We decided to use oak wood because it was easily available and would stain better than other woods like pine, and we wanted to be able to stain the rack to better match the other wood in our kitchen.
What Type of Jars to Buy for the Spice Rack
As I mentioned I already had spice jars that I designed this rack around but I needed to find additional jars for remaining spices that I had in jars of various sizes. There are countless options for spice jars for this project, but most rectangle 4 oz. spice jars like these will work.
Supplies for Low-Profile Wooden Spice Rack
Materials
- 1×4 oak wood, 30″ for a 24 jar spice rack or 34″ for a 30 jar rack
- 4 1/4″x 3′ oak dowels for a 24 jar spice rack, 5 for a 30 jar rack.
- stain in the color of your choice
- a rag and gloves for staining.
- 24 or 30 4 oz. rectangular spice jars
Tools
- Saw
- Drill
- Sand paper and/or an electric sander
How to Make a Low-Profile Wooden Spice Rack
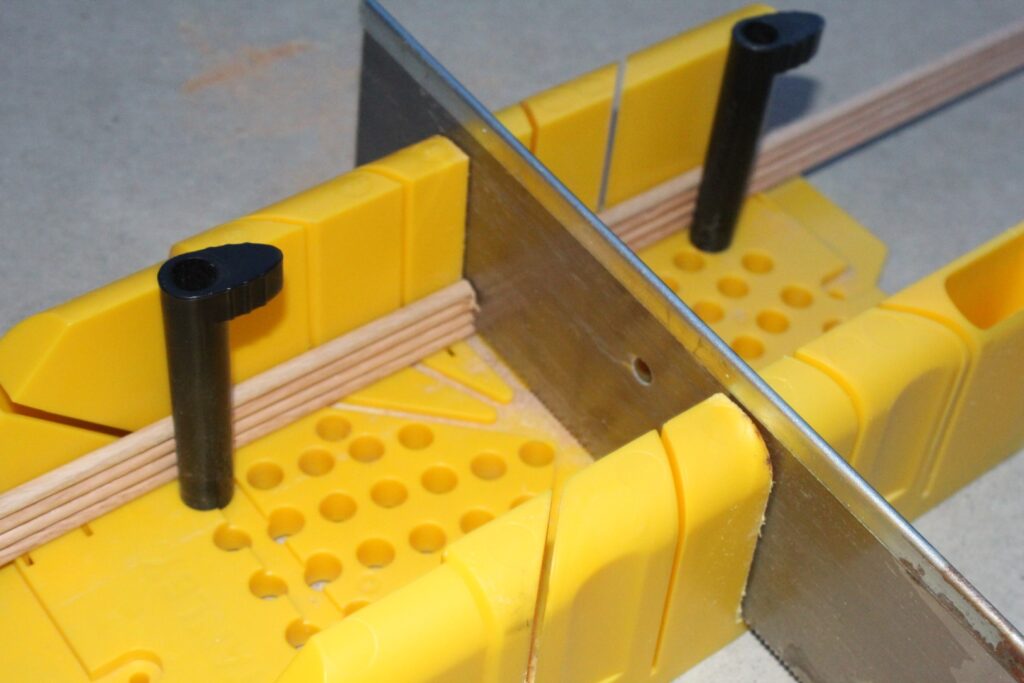
Begin by cutting your wood. Cut the oak board in half at 15″ (for the 24-jar rack) and the dowels into thirds for 12″ segments.
Mark holes for drilling by lining up and poking through the diagram paper you can print here. Mark 3 drill holes for each layer of your spice rack. 4 layers for a 24 bottle rack and 5 for a 30 bottle rack.
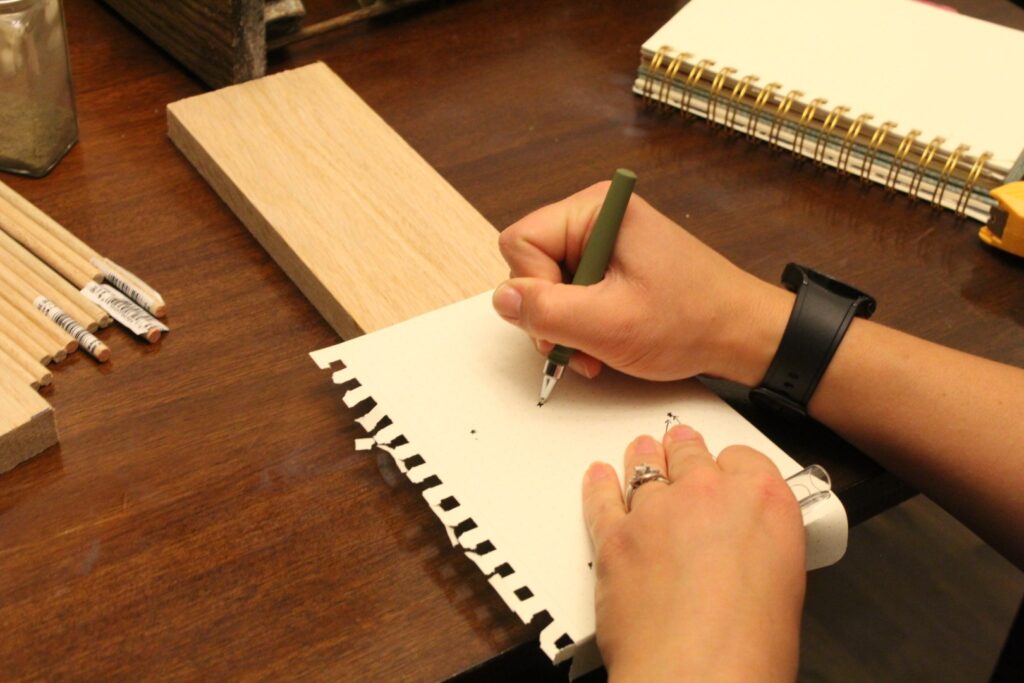
Drill holes making sure that your drill is level so your holes are straight. Only drill holes 1/2″ deep so that you don’t drill all the way through the wood. There are tools you can use to do this, but we just eyeballed it.
Once the holes are drilled, sand all the wood, focusing especially on placed where the wood was cut or drilled.
Wipe off all the dust from sanding with a slightly damp rag and let the wood dry completely
Set out a place to stain your wood. I laid out newspaper and used a box to hold the pieces off of the ground while they dried.
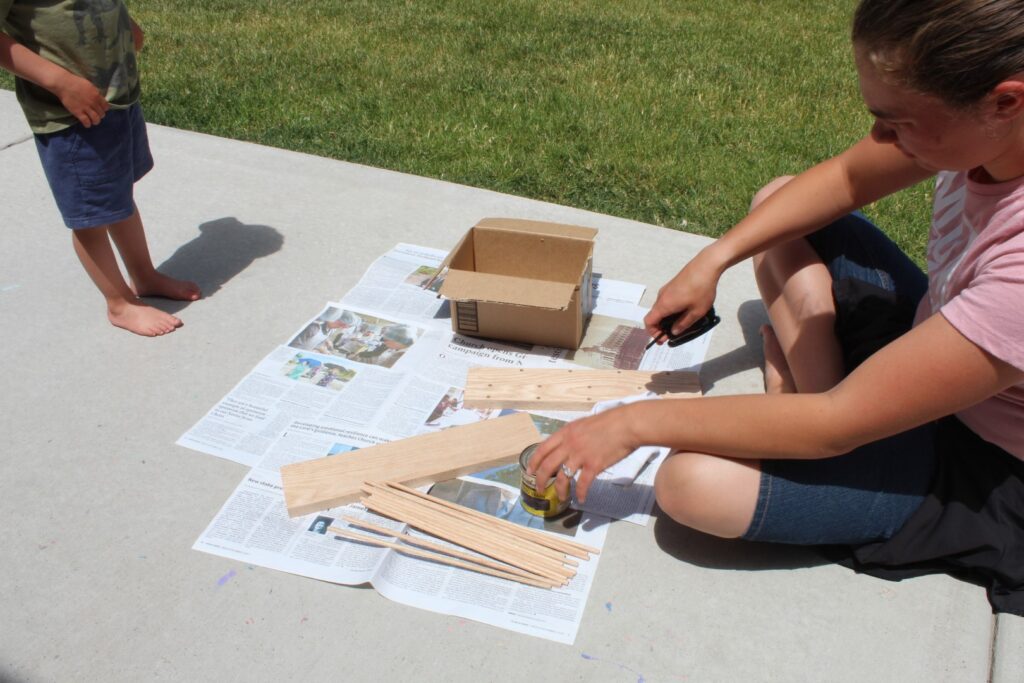
Do one coat of stain and let dry according to the directions on the stain can. Then repeat for a second and, if needed, third coat.
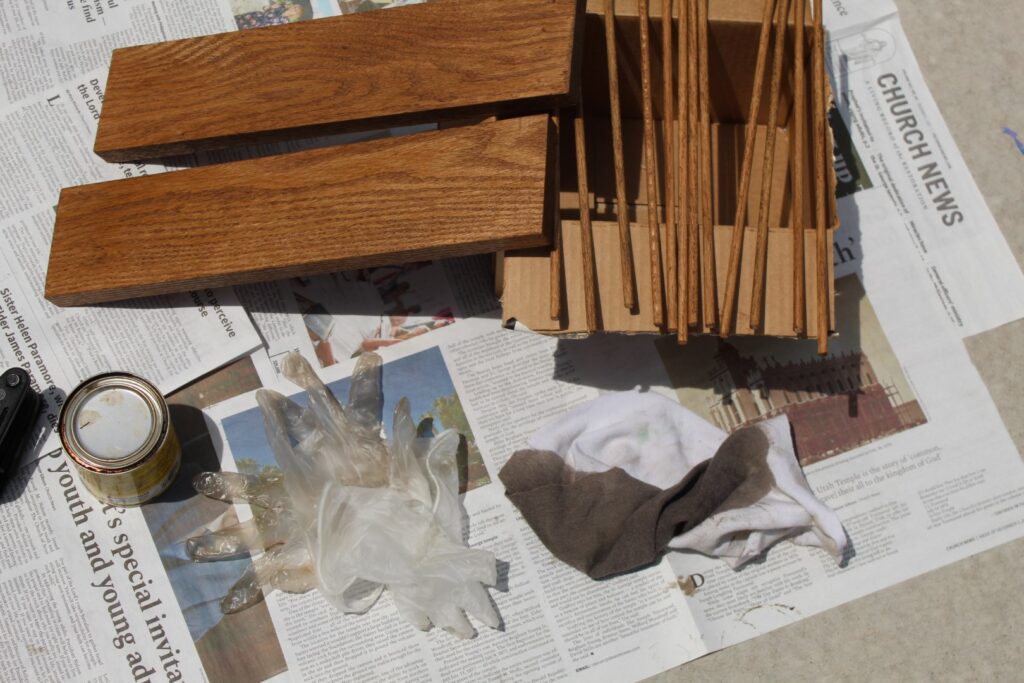
Once all the pieces have dried completely you can put all the dowels in the holes and line them up to fit together like a puzzle. I find it easiest to start at the top and work your way down to the bottom of the rack.
Originally we were planning to glue the dowels in place, but found that it was a snug enough fit gluing was unnecessary.
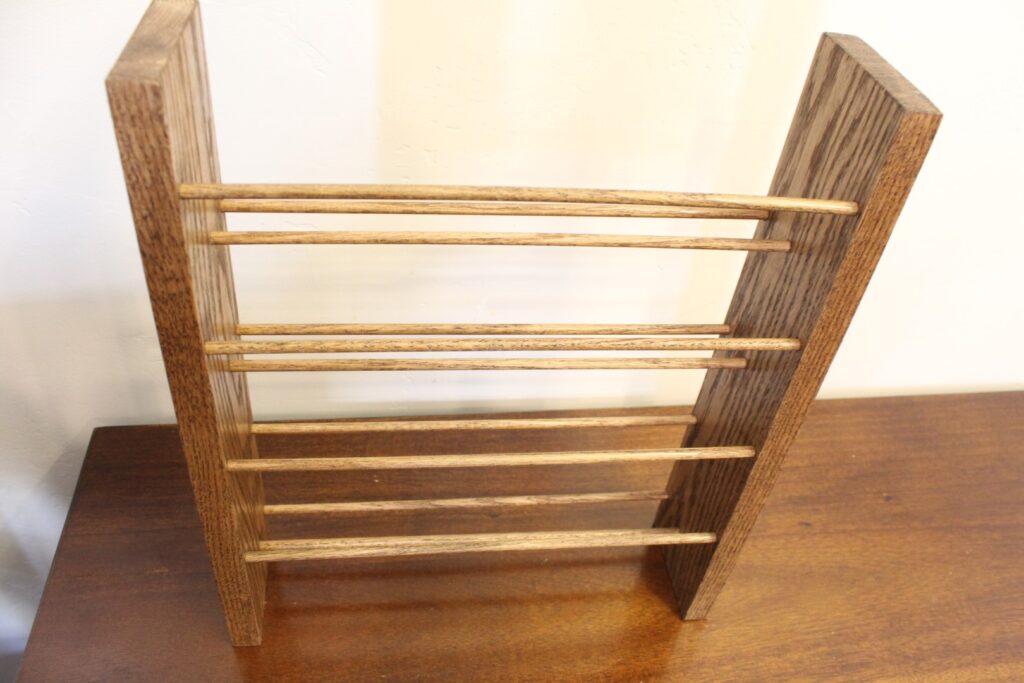
Low Profile Spice Rack
Equipment
- Drill
- Saw
- Sand paper or electric sander
Materials
- 30-34" 1×4 oak wood 30″ for a 24 jar spice rack or 34″ for a 30 jar rack
- 4 -5 1/4"x 3' oak dowels 4 for a 24 jar spice rack 5 for a 30 jar rack.
- stain in the color of your choice
- a rag and gloves for staining.
- 24 or 30 4 oz. rectangular spice jars
Instructions
- Begin by cutting your wood. Cut the oak board in half at 15″ (for the 24-jar rack) and the dowels into thirds for 12″ segments.
- Mark holes for drilling by lining up and poking through the diagram paper you can print here. Mark 3 drill holes for each layer of your spice rack. 4 layers for a 24 bottle rack and 5 for a 30 bottle rack.
- Drill holes making sure that your drill is level so your holes are straight. Only drill holes 1/2″ deep so that you don’t drill all the way through the wood. There are tools you can use to do this, but we just eyeballed it.
- Once the holes are drilled, sand all the wood, focusing especially on placed where the wood was cut or drilled.
- Wipe off all the dust from sanding with a slightly damp rag and let the wood dry completely
- Set out a place to stain your wood. I laid out newspaper and used a box to hold the pieces off of the ground while they dried.
- Do one coat of stain and let dry according to the directions on the stain can. Then repeat for a second and, if needed, third coat.
- Once all the pieces have dried completely you can put all the dowels in the holes and line them up to fit together like a puzzle. I find it easiest to start at the top and work your way down to the bottom of the rack.
